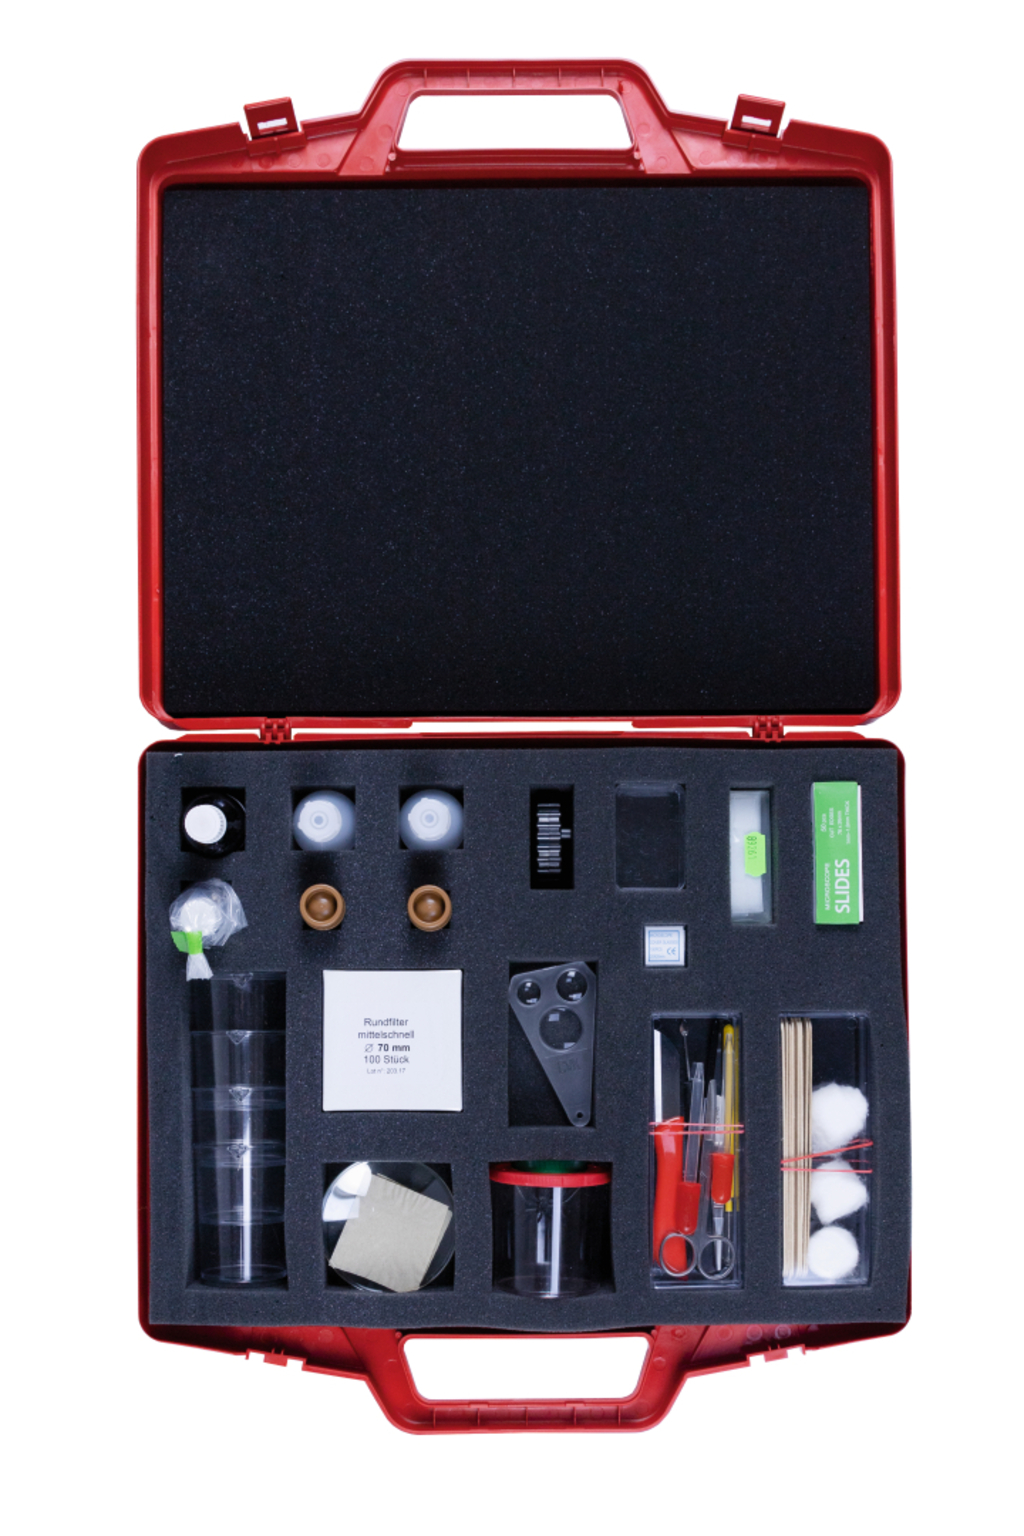
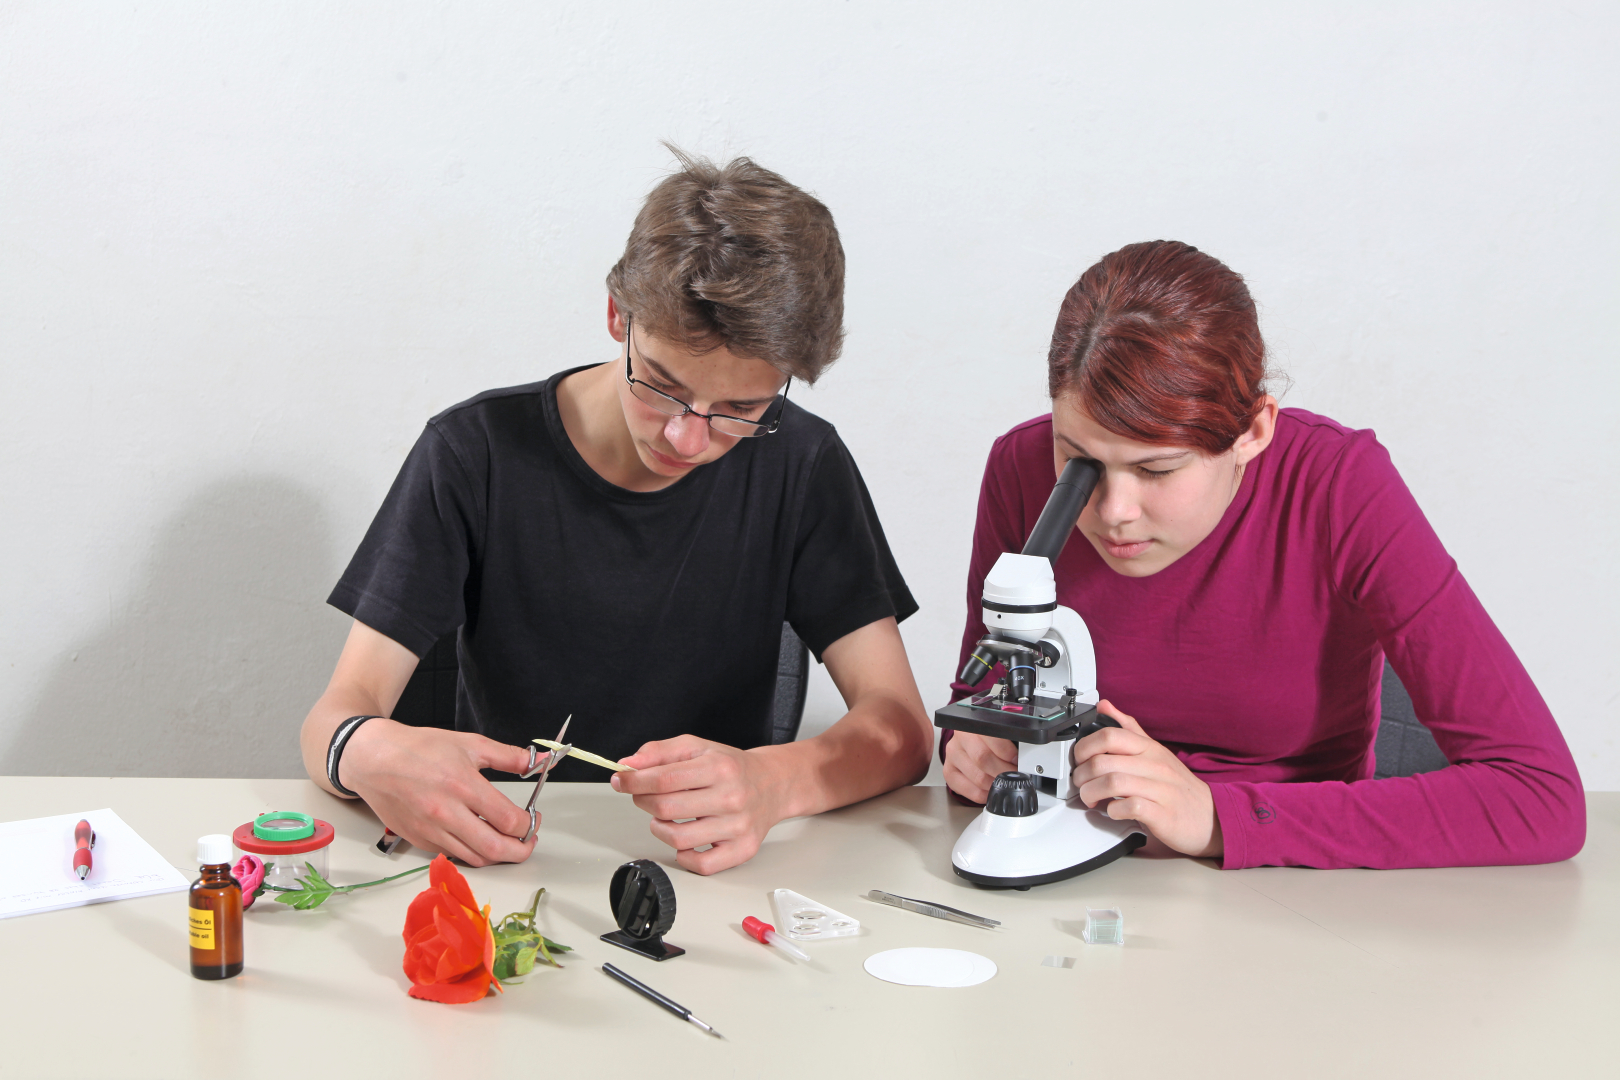
Students kit Exploring the world of the small
This kit contains equipment and resources for scientific experiments covering multiple disciplines to learn the methods and procedures for observing very small objects.
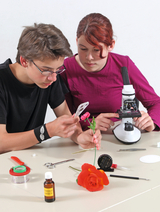
After a range of initial observations of small objects through a magnifying glass, there are numerous experiments allowing students to learn step by step how to prepare tiny objects for investigation with a microscope and how to use a microscope itself.
Age 11-14
Materials for 1 work group or demonstration

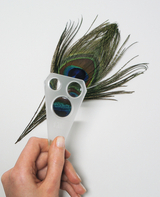


Various bird feathers are examined with the three-lens magnifier and the beaker magnifier. The special features are then recorded by the students.
Different hairs, also from animals, are to be examined under the microscope. The students should observe the differences between the individual hairs and their structure.
A butterfly wing is viewed under a microscope and the magnifications are traced on drawing paper.
Students examine leaflets of a water pest or star moss plant under the microscope.
Students examine pollen from different flowers and grasses.
We will shortly provide you with a description of the experiment at this point.
We will shortly provide you with a description of the experiment at this point.
A drop of water is applied to the center of the slide using the dropper pipette. Using a disposable wooden spatula, some oral mucosa is scraped off the inside of a cheek. The students examine the cells of the oral mucosa under the microscope.
A few live water fleas are picked up with the dropper pipette and placed in the well of the microscope slide. The students examine the water fleas with a microscope.
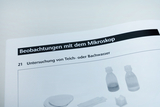
The water samples are kept ready in the polyethylene bottles. The prepared specimen is observed extensively at the highest magnification of the microscope. The observed objects in the water sample are compared with the representations of the provided figure and it is determined which organisms they are.
The students look at the plant seeds with the different lenses of the three-lens magnifier.
Students examine different fish scales using the three-lens magnifier and the beaker magnifier and then record the differences.
Various bird feathers are examined with the three-lens magnifier and the beaker magnifier. The special features are then recorded by the students.
The students examine the different parts of an onion skin under the microscope.
Some pulp is removed from a ripe privet berry using a lancet needle and examined under the microscope.
Using the lancet needle or microtome, individual stinging hairs are removed from the stems or leaf veins of stinging nettle plants that are as fresh as possible and observed under the microscope at various magnification levels.
Using the lancet needle, the outline of a piece of about 10 x 10 mm is scratched on the underside of a leaf. The open tweezers are used to penetrate one side of this piece slightly into the leaf and then the closed tweezers are used to peel off the lower layer. The layer is placed on the center of the slide with the bottom of the leaf facing up and a drop of water added.
Students examine freshwater polyps with a microscope.
A freshwater polyp is carefully picked up with the dropper pipette and placed in the lid of the small plastic box held upside down. Subsequently, a few live water fleas are picked up with the pipette and also placed in the lid.
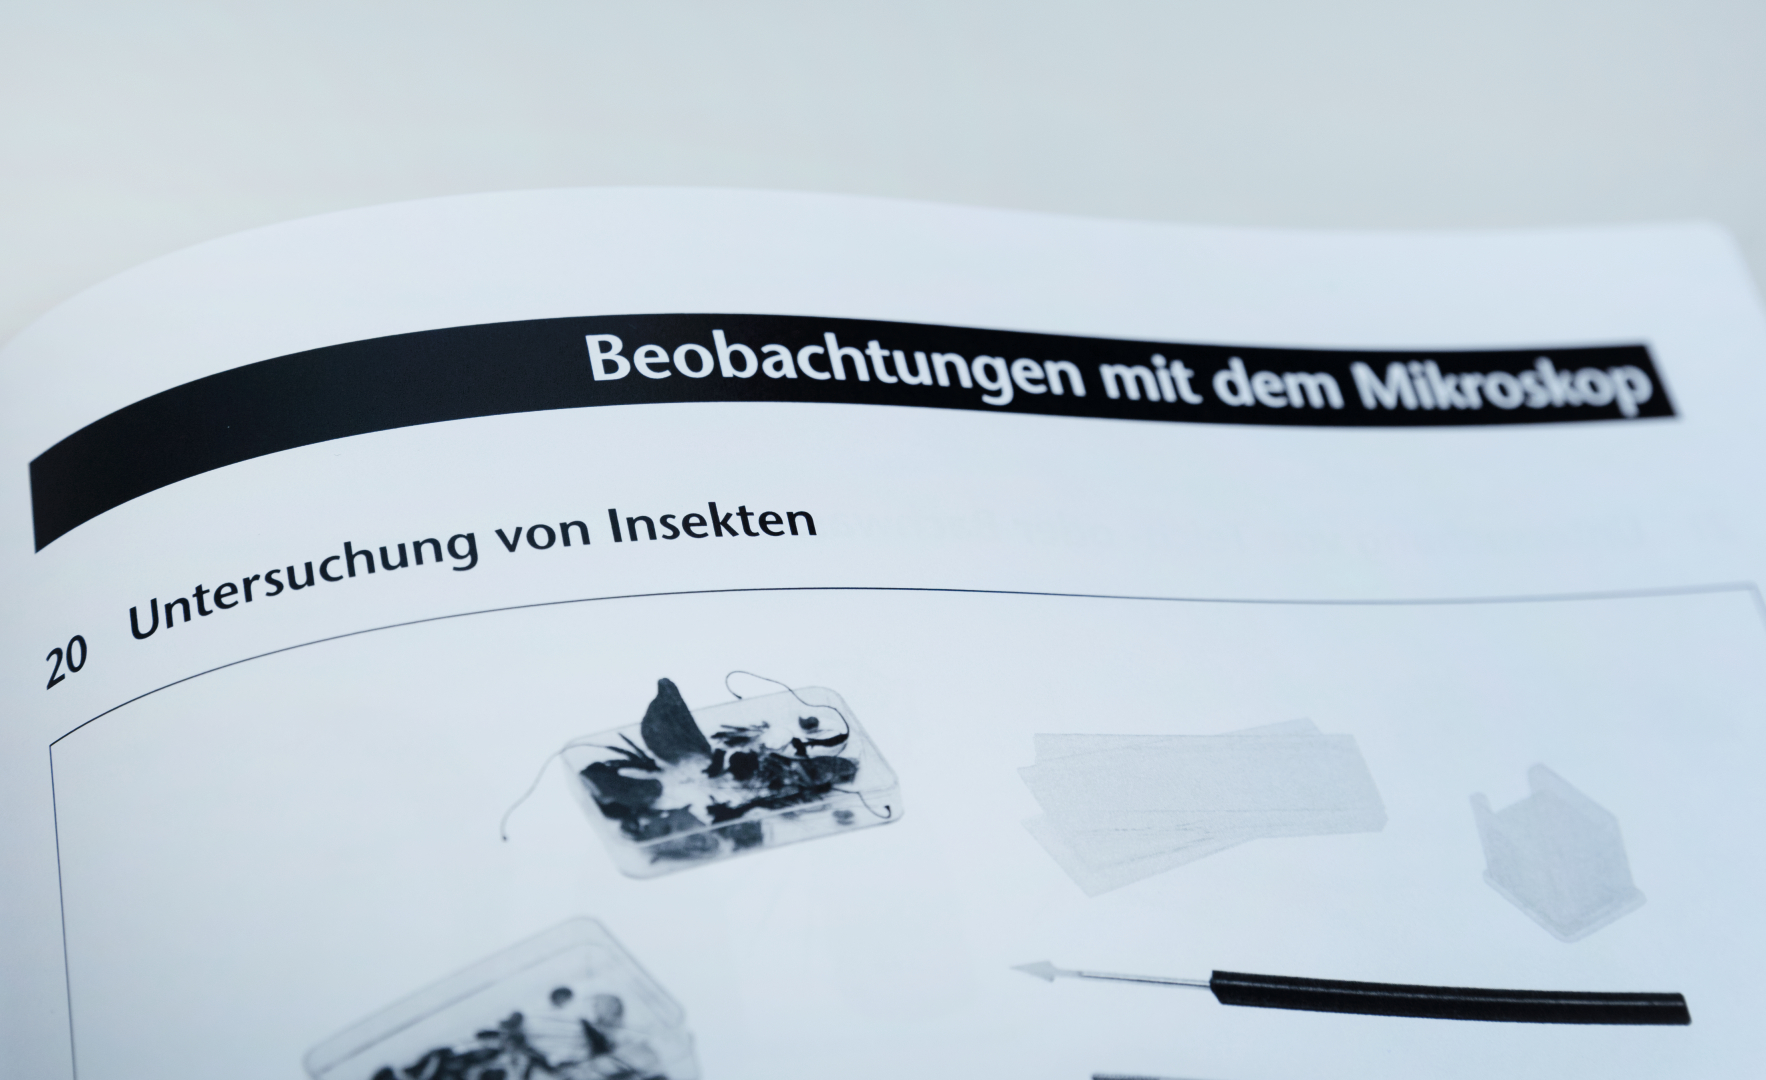
Various dead insects are collected and kept ready in the plastic box before examination.
Students explore the creatures in the hay infusion.
- 4 × Beaker, plastic, 100 ml (graduated)
- 2 × Dropping pipette, plastic
- 1 × Colouring agent, blue
- 1 × Colouring agent, red for lab use only
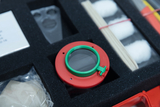
- 1 × Triple lens magnifier
- 1 × Paint brush
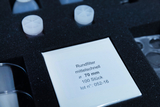
- 1 × Filter paper, circular 70 mmØ, 100 pcs.
- 2 × Flask, PE, narrow neck 50 ml
- 1 × Cotton Balls
- 1 × Cover glasses, 20 x 20 mmpack of 100 pcs.
- 1 × Microscopic slides,50 pcs
- 1 × Microscopic slides with hollow, 10 pcs.
- 1 × Spatula, wood, 100 pcs.
- 1 × °Iodine solution, 50 ml
- 1 × Storage box, red 430x330x99 mm
- 1 × Carton for storage box, 481x425x107
- 1 × Foam insert, 430x320x40mm
- 2 × Plastic box 157x54x19 mm
- 1 × Foam insert for 22012 426x325x65 mm
- 1 ×
- 1 × Dissecting needle, 140 mmstraight with cap
- 1 × Forceps, blunt 105 mm stainless
- 1 × Scissors, dissecting, 115 mm
- 1 × Knife
- 1 × Vegetable oil, 30 ml
- 3 × Watch glass, 80 mm
- 1 × Beaker w. magnifying lens
- 1 × Dissecting needle, lancet shape
- 1 × Microtome
- 1 × Plastic box, clear, 60/40